
How Can Liquid Membrane Roofing Protect You?
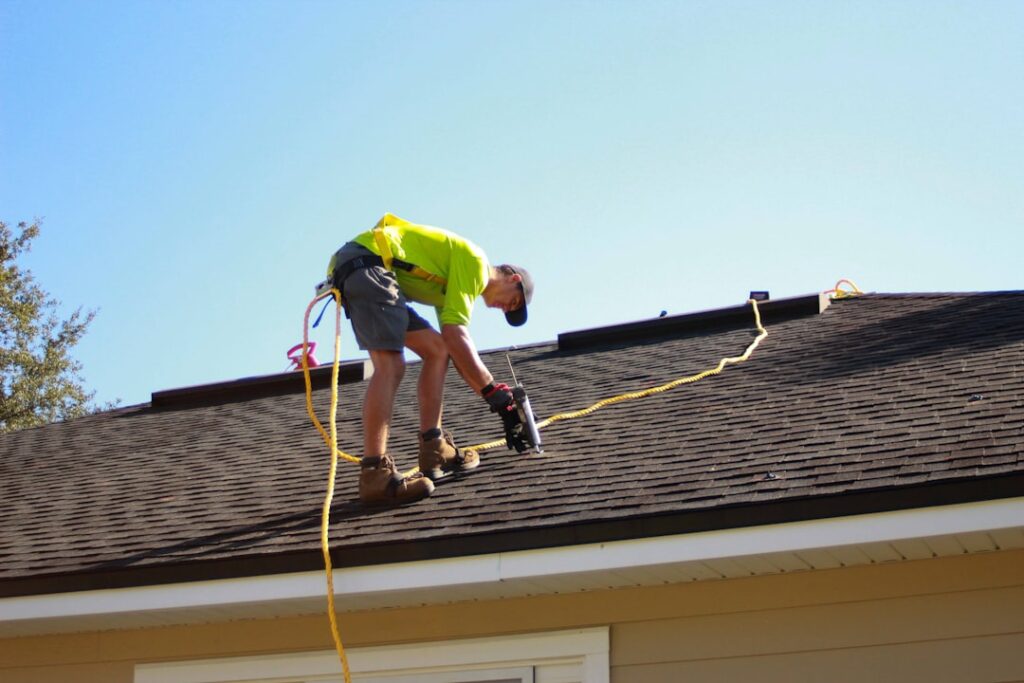
If you notice water marks creeping up your basement walls, it’s a warning sign. Water intrusion can weaken your building’s structure and damage anything stored below ground. One practical fix is liquid membrane roofing, a waterproof coating that forms a tough barrier to keep moisture out. It sticks tightly to wood, concrete, metal, and other materials, making it useful in many settings. For example, swimming pool operators apply it to prevent water leaks around the pool deck. Businesses with outdoor fountains also use it to reduce leaks and cut down on repairs. The application of liquid membranes is straightforward but requires attention to detail. The product is brushed or rolled on in liquid form and hardens into a flexible layer without seams. This lack of joints means water has fewer places to sneak through. It works for indoor areas like basements as well as exterior surfaces exposed to harsh weather. Many property owners handle the job themselves, thanks to the simple tools and clear instructions manufacturers provide. Still, prepping the surface by cleaning and drying it thoroughly before application is critical, skipping this step often leads to peeling or poor adhesion. Estimating how much liquid membrane you need depends on surface roughness and porosity. Coverage calculators from producers can help you figure this out. Typically, one pint covers around 80 square feet on smooth surfaces but less on textured ones. Buying too little means a patchy job; too much wastes product and money. Experienced users often apply two coats for better protection, allowing the first coat to dry fully before adding the second. Applying in mild weather also improves results since extreme cold or heat can affect curing times. People who’ve used liquid membranes report solid results. A homeowner applied it inside their basement and saw humidity drop noticeably along with a stop to damp smells. In another case, a commercial building manager fixed roof leaks and noticed lower cooling costs because the membrane reflected some sunlight. These benefits come from the membrane’s ability to block water and reduce heat transfer at the same time. However, users sometimes get confused about whether a membrane alone is enough for drainage issues; combining it with proper drainage systems prevents water pressure build-up behind walls. For those unfamiliar with waterproofing, detailed project guides are available online. They break down steps clearly: from surface prep to application technique and drying times. Following these instructions closely reduces mistakes like applying too thick a layer or missing spots. Some brands even offer customer support to answer questions during installation, which helps avoid costly errors. In addition to the membrane itself, consider accessories that improve performance. Primer coatings improve adhesion on tricky surfaces like old concrete. Adding sealants at edges and corners helps prevent leaks where membranes might be thinner or stretched. Also, keep in mind the importance of maintenance, regular inspections catch damage early before it worsens or causes mold growth. Cleaning debris off roofs or decks prevents water pooling that could stress the membrane. Check manufacturers’ data sheets for product limitations such as UV resistance or chemical exposure tolerance. Not all membranes handle every environment equally well. If your project involves heavy foot traffic or mechanical wear, look for formulations designed for durability under those conditions. Applying the membrane smoothly and evenly takes practice; testing on a small area first can help you get a feel for drying times and finish quality. Ultimately, liquid membrane roofing offers an accessible way to protect your property against moisture damage. Whether you’re tackling a damp basement or shielding outdoor features from rain, using these coatings carefully can extend your building’s life and reduce repair bills. For more details on available products, visit liquid membrane roofing. If you want broader information about waterproofing materials and techniques, check out . waterproofing advice for property owners
How to Navigate Class Tee Design
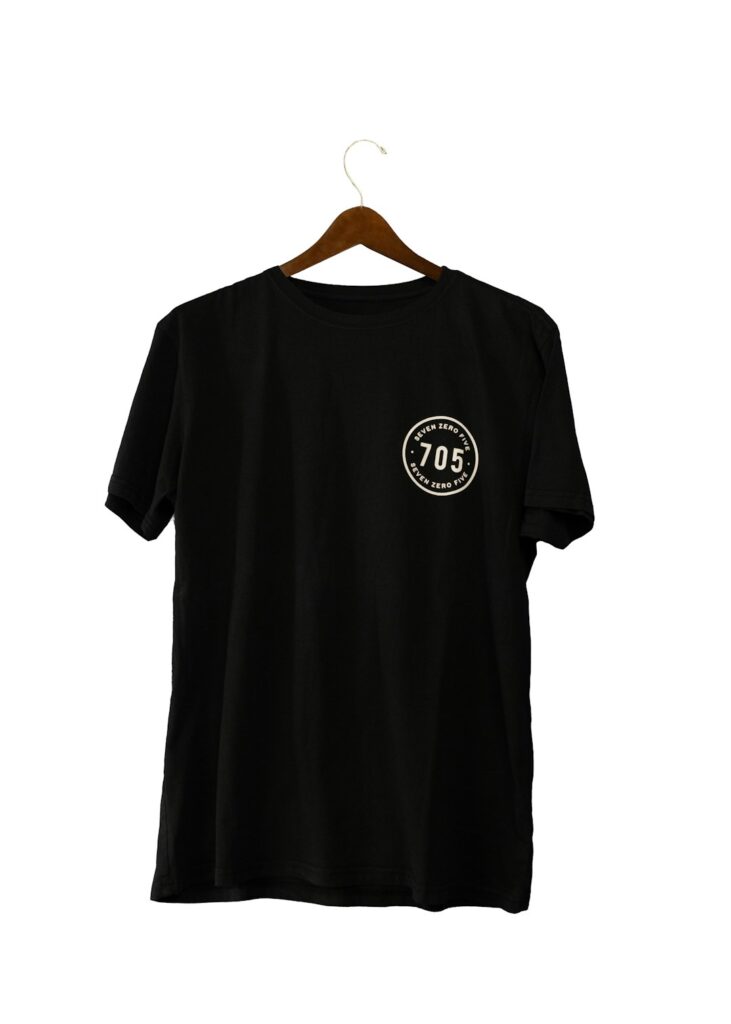
Planning custom t-shirts for your class event can feel overwhelming if you don’t know where to begin. You want your shirts to capture your group’s vibe but also hold up through wear and washing. Many overlook the importance of matching the printing method to the fabric and design details, which often causes headaches down the line. A good first step is understanding the main printing techniques so you can pick one that fits your needs and budget. Silkscreen printing remains a staple for large batch orders. It works by pressing ink through stencils onto fabric, layer by layer. This method produces bright, lasting colors and handles simple designs well. If you’re ordering 30 or more shirts with a design that has two or three colors, silkscreen is usually the most affordable route. But keep in mind, complicated logos with many colors or fine lines can get expensive and tricky here. Also, waiting times can be longer since each color needs its own stencil. Dye sublimation is ideal if your class tees are polyester or polyester blends. It uses heat to infuse dye into the fabric, so the print won’t crack or peel over time. This method shines with full-color images or photos. One thing to watch out for is that it doesn’t work well on cotton, which can lead to dull colors or prints that fade quickly. A practical tip is to check the fabric label before committing to this process; it saves from surprises when the shirts arrive. Embroidery adds a textured, upscale feel by stitching designs directly onto the shirt. This suits logos or short text rather than detailed artwork. It stands out in a crowd and lasts through countless washes but is more costly per shirt, especially with bigger designs or multiple thread colors. Many classes opt for embroidery on just a few shirts for team leaders or event organizers, balancing cost and impact. Direct to Garment (DTG) printing uses inkjet technology to print detailed images directly onto fabric. It allows for complex graphics and smooth color gradients without setup costs tied to screen preparation. DTG is great for small orders or when you want personalized names on each shirt. However, it works best on cotton fabrics and may not be as durable as silkscreen over time. A common misstep is ordering DTG prints on cheaper polyester; the ink tends not to absorb well, resulting in a faded look. Digital heat transfer involves printing your design onto special paper, then using heat and pressure to transfer it onto the shirt. It handles fine details and vibrant colors but can feel less sturdy than other methods once washed repeatedly. This option suits one-off shirts for themed events where durability isn’t the top priority. In practice, many groups test a sample shirt before placing a full order to ensure the colors meet expectations. Vinyl printing entails cutting colored vinyl sheets into shapes and heat pressing them onto fabric. It’s known for bold, durable prints that resist cracking and fading. This approach fits simple text or logos well and is popular for spirit wear or sports jerseys that face heavy use. Just remember vinyl tends to add a layer on top of fabric rather than integrating with it, which can affect comfort if applied extensively. Choosing the right technique depends on your design’s complexity, fabric choice, order size, and budget. Some classes underestimate how long production can take, so it’s smart to start discussions with printers early and ask about turnaround times. Also, confirming artwork file requirements upfront prevents delays caused by incompatible formats or low-resolution images. For more on local options and detailed comparisons, check out class tee design. Understanding these printing methods helps you avoid common pitfalls like picking an unsuitable fabric or design style that inflates costs or reduces quality. Whether you want vibrant all-over prints from dye sublimation or durable team logos via embroidery, knowing the trade-offs makes your decision clearer and your class tees something everyone wants to wear. For ideas on local printing providers and customer experiences, see custom apparel services in singapore.