
Practical Cabinet Door Replacement Tips
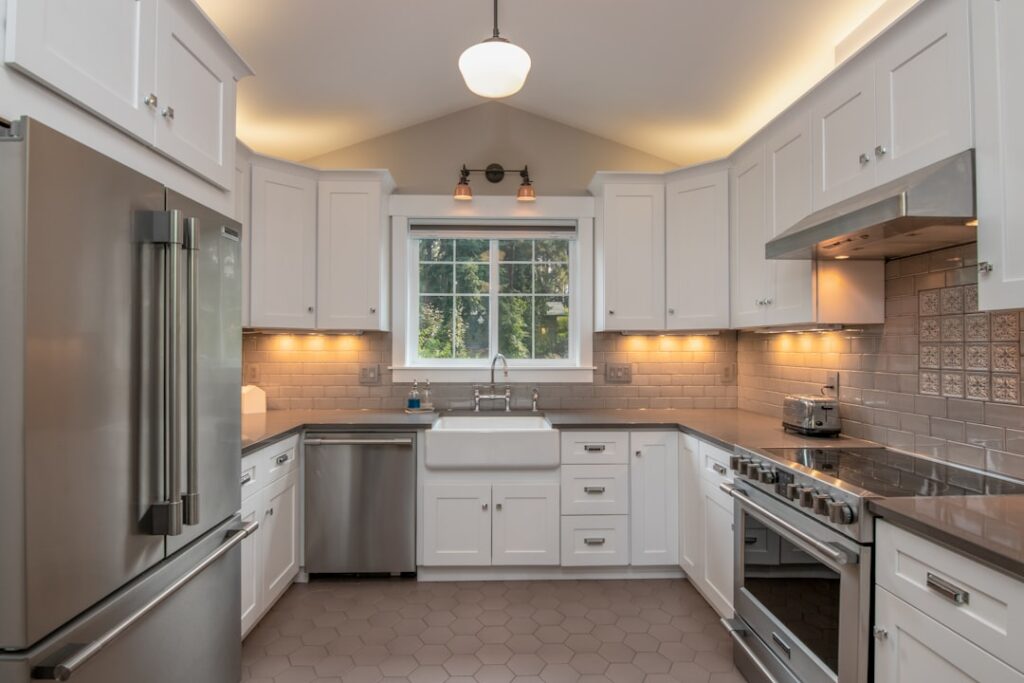
Walking into a kitchen with scuffed, outdated cabinet doors can quickly make the whole space feel tired and uninspired. Instead of tearing everything out, swapping just the cabinet doors offers a smart update that saves time and money. Cabinet door replacement focuses on the visible parts, letting you keep the existing cabinet boxes intact. This approach often means less mess, fewer surprises during installation, and a faster turnaround compared to a full remodel. Cabinet refacing means removing old doors and drawer fronts and fitting new ones onto the existing framework. It’s generally more affordable because it avoids ripping out cabinetry and dealing with plumbing or electrical changes. Materials vary widely , solid wood, MDF with veneer, laminate, or thermofoil , each comes with its own look and maintenance needs. For example, wood doors can be sanded and refinished later but may require more upkeep than laminate options, which resist scratches better but aren’t as easy to repair. Updating cabinet hardware is an often overlooked step that can redefine the entire kitchen vibe. Swapping old knobs and pulls for something fresh is one of the cheapest ways to modernize cabinets. For a farmhouse style, weathered bronze or antique brass handles fit well. If you prefer a clean, modern feel, consider slim stainless steel or matte black pulls. Keep in mind that hardware size and screw placement matter , mismatched holes can mean extra drilling or filler work. Measuring carefully before ordering hardware prevents avoidable delays. Finishes need to balance beauty with durability. Kitchens see moisture, grease, and frequent cleaning, so choose a finish that stands up to wear. Semi-gloss paints handle spills better than flat finishes and wipe clean easier. Stains with built-in sealants add protection but don’t offer as wide a color range. Test samples on a scrap piece if possible, checking how they look under your kitchen’s lighting to avoid surprises later. Assess your kitchen’s natural light before picking colors. Dark cabinet doors absorb light and can make small kitchens feel cramped. Lighter shades reflect daylight, opening up the room visually. In a tight space with little sun, whites or soft pastels can create an airy feel. Larger kitchens can handle deep hues like navy or charcoal if you want a dramatic impact. Remember, colors appear differently on various materials; what works on paint might shift slightly on wood veneer or laminate. Before starting your project, spend time looking at showroom displays or online galleries to find styles that speak to you. Pinpointing what you like helps avoid decision fatigue when ordering materials or talking with contractors. Professionals in cabinet refacing often have portfolios showing past work, reviewing these can clarify what’s realistic for your layout and budget. For more detailed options on cabinet door replacement, check out specialized resources. Once you’ve settled on design and materials, request quotes from several installers experienced in cabinet door replacement. Prices can vary widely based on door type, finish, hardware, and labor rates in your area. Don’t hesitate to ask how long the job will take; some projects wrap up in a few days, but custom finishes or complicated layouts might add time. Clear communication upfront helps avoid surprises and ensures the installer understands your expectations. Small details matter during installation too. Label doors and drawers as you remove them to avoid confusion later. Take photos of hinge placements and hardware locations; installers will appreciate this documentation if questions arise mid-project. Double-check that all measurements match before finalizing orders, mistakes here cause delays and extra costs. Refreshing your kitchen by replacing cabinet doors is a practical way to rejuvenate your space without extensive disruption or expense. Whether you lean toward sleek modern lines or prefer classic touches, thoughtfully selected materials, finishes, and hardware make a big difference. If you want advice tailored to your kitchen’s unique features, visit kitchen remodeling tips and ideas for helpful guidance.
Choosing the Right Swimming Pool Membrane
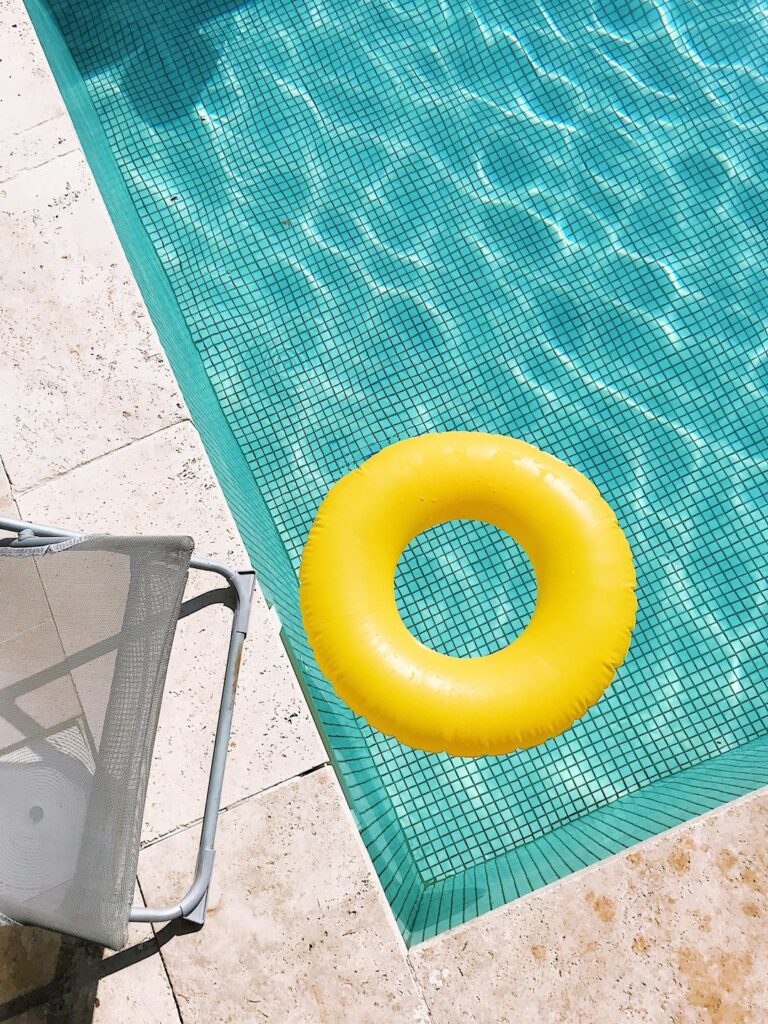
Picture your backyard ready for a new swimming pool, where you’ll host family barbecues and unwind on hot afternoons. Before any concrete is poured or frames built, the pool’s waterproofing needs your attention. A quality swimming pool membrane is what stops water from escaping and damaging the structure beneath. Picking the right membrane means fewer headaches later, especially avoiding leaks that can cause costly repairs or weaken pool walls. Start by matching the membrane material to your pool’s construction. Concrete pools demand membranes that stick firmly to uneven surfaces and tolerate shifts caused by temperature changes or ground movement. Liquid rubber membranes are popular here due to their flexibility and strong grip. They work well on concrete, wood, and other common materials, offering versatility if your pool design mixes different substrates. Installation method matters too. Many homeowners prefer membranes they can apply themselves without hiring pros. Liquid membranes often come in forms you can brush or roll on, letting you control the pace and ensuring full coverage. Before applying, use the manufacturer’s coverage calculator to estimate how much product you need based on your pool’s square footage. Skimping on this step often leads to gaps or wasted material. Durability is another factor. Look for membranes guaranteed to resist UV rays, heavy rain, and temperature swings, especially if your area faces harsh weather. Some products carry warranties extending several years, but check what conditions are covered. A membrane that cracks or peels under sunlight won’t protect your investment long term. If you work in construction or manage commercial pools, pay close attention to technical specs like thickness, elasticity, and resistance to pool chemicals. Thicker membranes might last longer but cost more upfront. Elasticity helps the membrane move with the pool structure without cracking. Industry-standard certifications can help compare products objectively. Use comparison charts from manufacturers to spot differences quickly. Find step-by-step guides for your specific pool type or project stage before you start. Whether it’s a backyard pool or an indoor water feature, detailed instructions help avoid mistakes like poor surface prep or uneven application. Manufacturers often provide these guides online; reviewing them early saves time and frustration. Maintenance after installation keeps your membrane working well. Regularly inspect for signs of wear such as blistering, peeling, or unexpected damp spots around the pool shell. Address small issues quickly before they grow into leaks or structural damage. Pool owners often skip this step and end up with expensive repairs down the line. If you run into trouble or need extra materials during your waterproofing work, plenty of resources exist online tailored to DIYers and professionals alike. Subscribing to newsletters from reliable suppliers can keep you informed about product updates and practical tips for upkeep. For dependable options, check out swimming pool membrane products known for ease of use and solid performance. Planning carefully around these points increases your chances of a successful pool build that lasts decades. The right waterproofing protects your investment and lets you enjoy your pool without worry for years to come. For guidance on selecting materials and understanding installation requirements, visit pool waterproofing advice.